Cara Membuat Lembar Mewarnai Dari Foto
Ikuti satu foto asli dari perjalanan keluarga melalui alur kerja Style Lab FotoMedley saat ini, pelajari cara menilai seni garis, mencetaknya dengan rapi, dan mengubahnya menjadi sesuatu yang pribadi dengan warna.
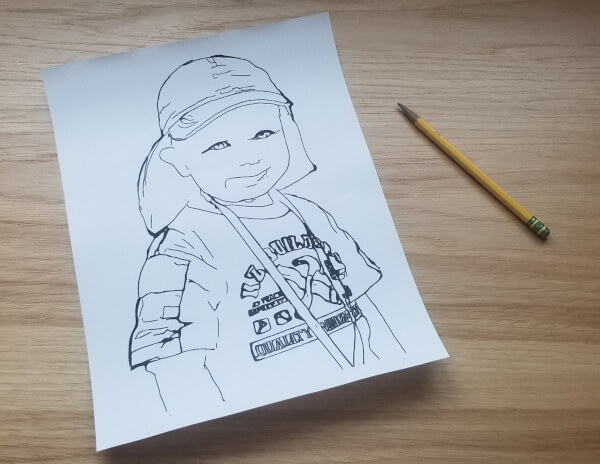
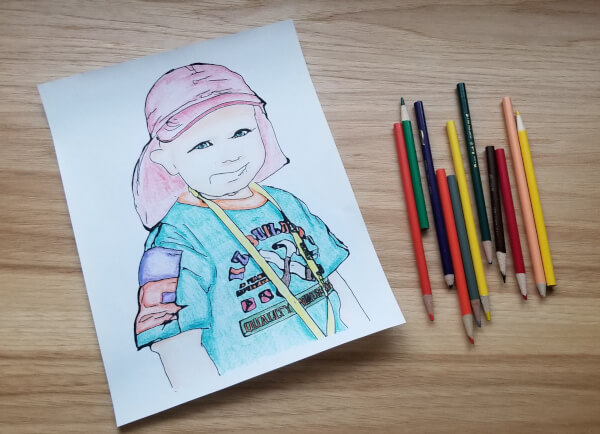
The photograph we are transforming
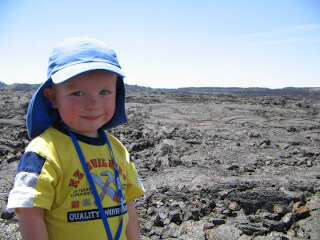
Hari yang berangin di Craters of the Moon
Foto keluarga ini memiliki subjek yang menakjubkan: seorang anak yang menatap langsung ke arah kamera, topi dengan siluet yang khas, pakaian cerah, dan senyuman kecil. It also has a potential problem—the lava field behind him is packed with irregular texture.
Ketegangan itu menjadikannya tutorial yang bermanfaat. We want the person to remain recognizable without forcing the colorist to fill thousands of tiny rock shapes. Tujuannya bukanlah peta tepi secara harafiah. It is a page that remembers the photograph and is still enjoyable to color.
- Simpan
- Muka, topi, kemeja, lengan, dan tali pengikat
- Sederhanakan
- Lanskap lava yang sangat bertekstur
- Cetak
- Surat potret atau halaman A4
- Selesai
- Pensil warna dengan tangan yang ringan
Baca Foto Seperti Artis Halaman Mewarnai
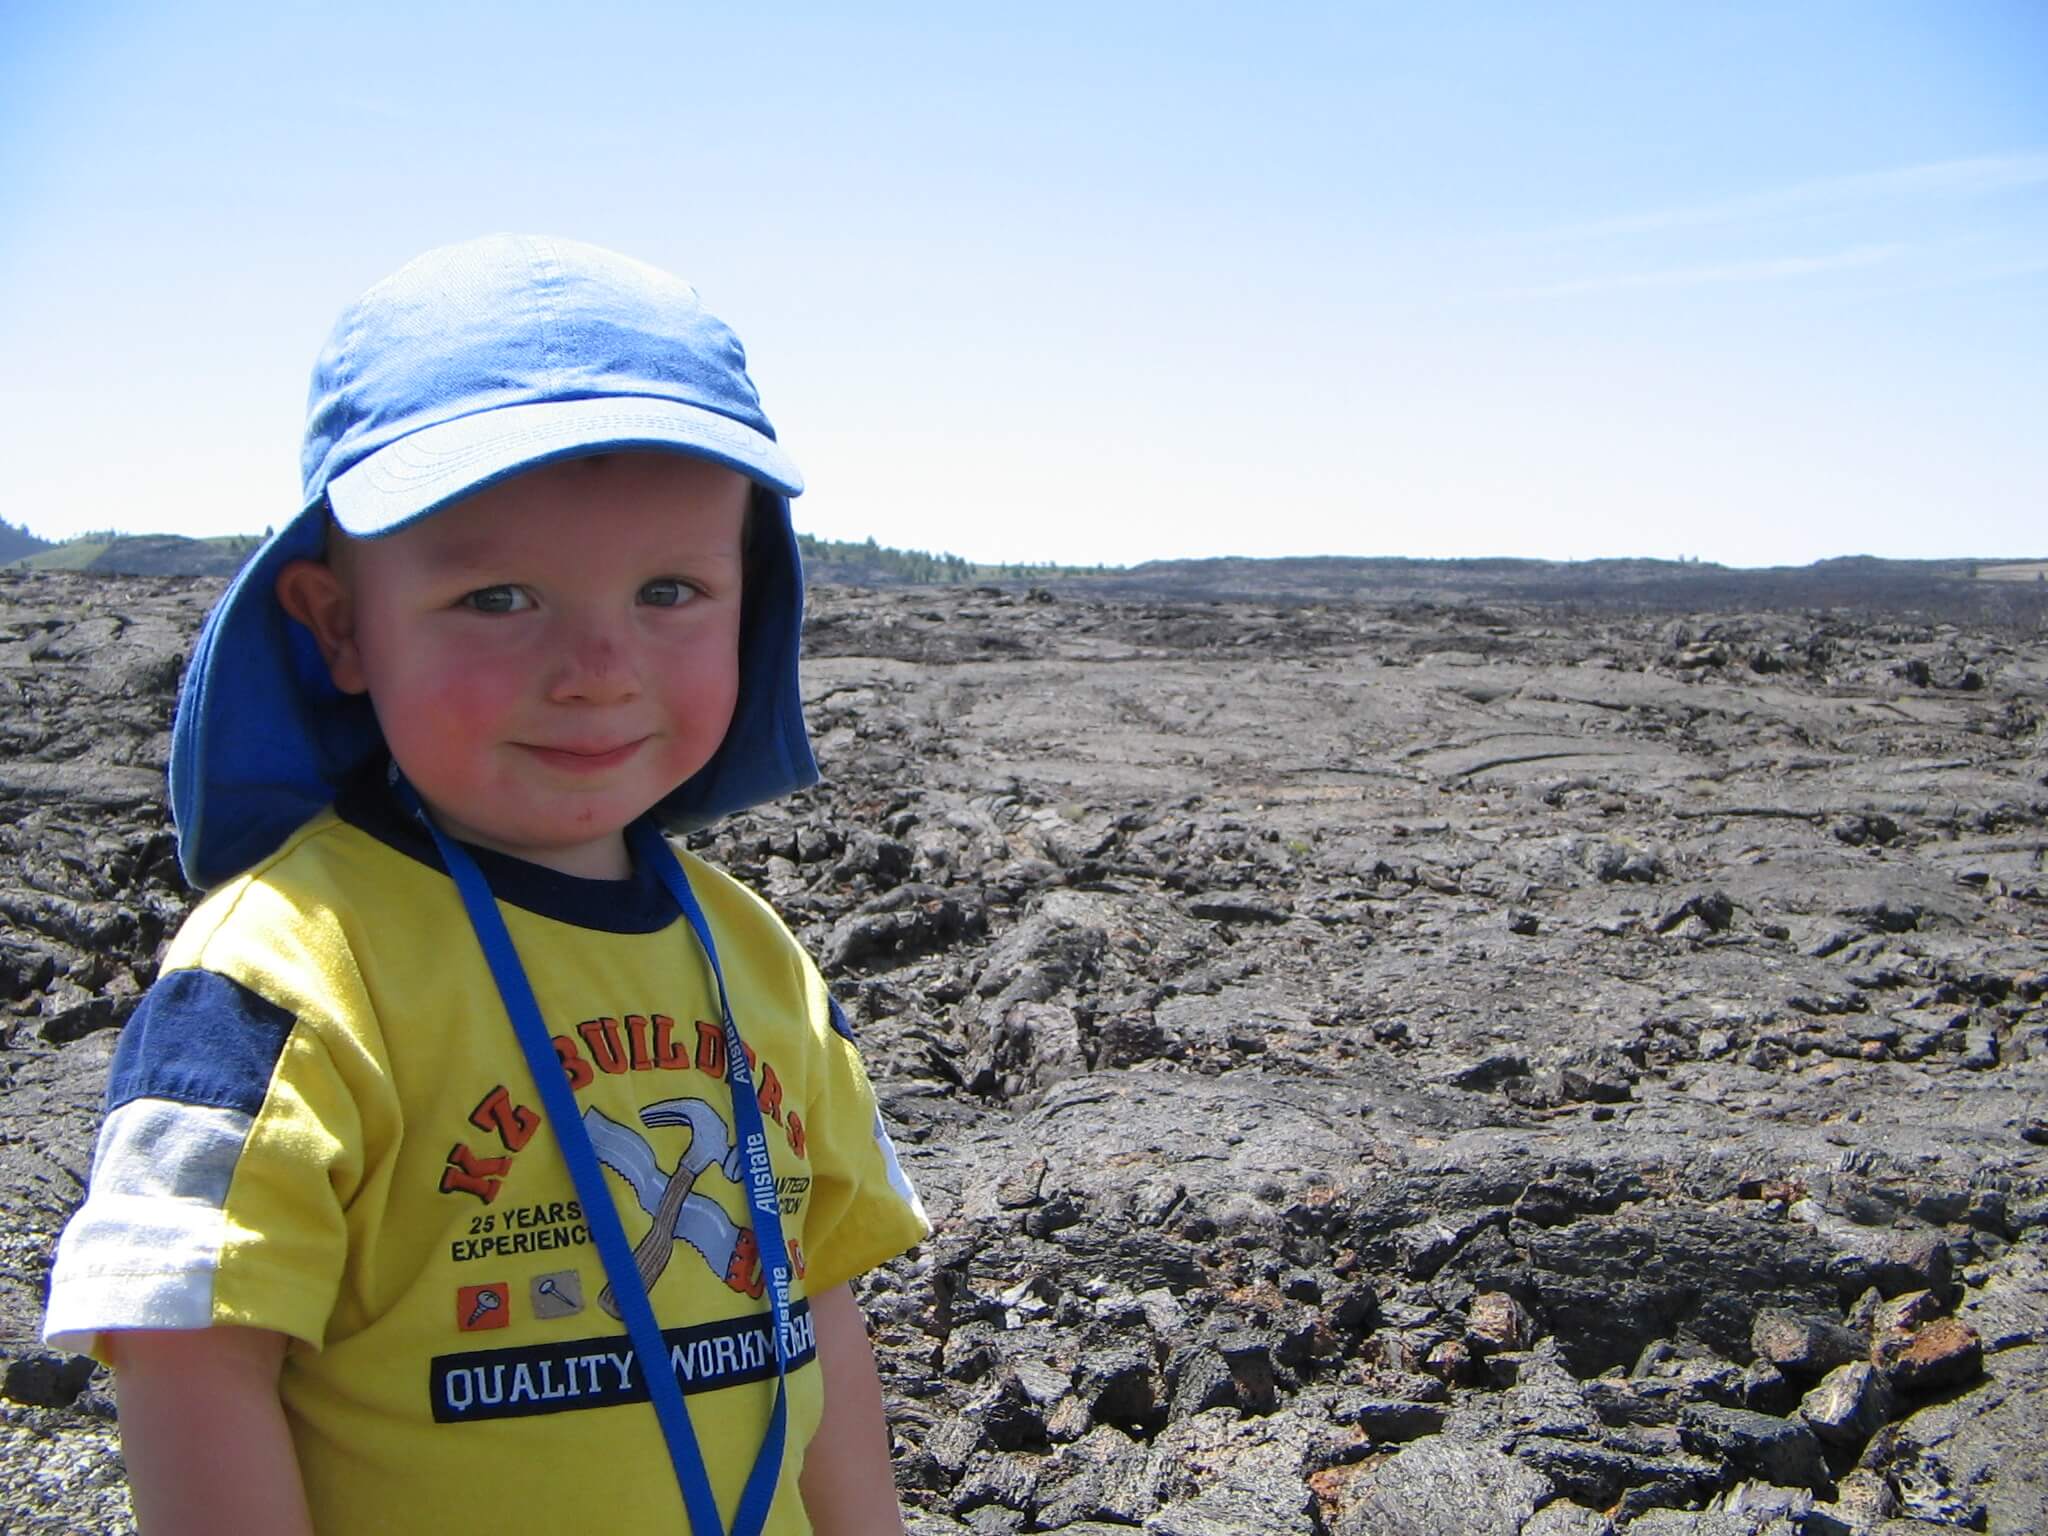
Before uploading, squint at the photo or view it as a small thumbnail. Apa yang pertama kali Anda kenali? Those are the features the finished page must protect. In our example, the hat, eyes, smile, shirt shape, and lanyard carry most of the identity.
Now notice the areas that could become tedious line noise. The black lava is interesting in the photograph but not essential to recognizing the child. A good generated page may simplify it dramatically or focus on the subject. Itu bukanlah sebuah kegagalan; ini adalah keputusan editorial.
Tes sumber lima detik
- Can you identify the main subject immediately?
- Are the eyes, mouth, paws, wheels, or other defining details visible?
- Is the subject large enough to survive simplification?
- Are the darkest shadows hiding important features?
- Would you actually enjoy coloring the background?
Pilih pewarna yang diinginkan
A detailed garden may be perfect for an adult with fine pencils and miserable for a five-year-old with crayons. “Good photo” and “good coloring page for this person” are different questions.
Unggah Satu Kandidat Kuat di Style Lab
Buka Style Lab dan mulai pada Input. If you are signed in, choose or create a collection for the project—something specific such as “Craters Coloring Page.” Add the photograph, wait while FotoMedley verifies and analyzes it, then select the image card when it becomes available.
Mulailah dengan satu gambar. Pengujian sumber tunggal memudahkan untuk mempelajari fungsi gaya, membandingkan hasil alternatif, dan memahami biaya kredit sebelum membuat batch yang lebih besar. Guests can already use the simpler one-image flow; signed-in accounts gain Collections and an easier path to reusing the finished creation.
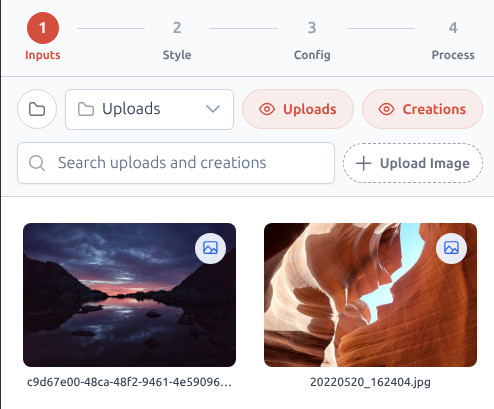
Cara menambahkan foto
Seret dan lepas
Choose from the device
Tempel dari papan klip
Gunakan kembali unggahan yang ada
Choose Coloring Page and Make a Deliberate First Run
On Style, search for “Coloring Page” and select the main Coloring Page style. It is the best baseline when the goal is broad, printable line art. Related styles can be interesting later, but changing the visual language before you understand the baseline makes comparison harder.
Beberapa gaya langsung menuju ke Proses; yang lain menampilkan kontrol Config. If page-processing layout is available, Auto is a sensible first choice. If resolution choices are available, use a print-appropriate option for the version you intend to keep. The Process screen is the final checkpoint for the source, style, configuration, and total credits.
Classic Coloring Bookmasukan
Pilih fotonya
Gaya
Pilih Halaman Mewarnai
Konfigurasi
Tinjau tata letak dan resolusi
Proses
Periksa biaya dan hasilkan
Ubah satu variabel pada satu waktu
If you compare a new crop, a different style, another layout, and another resolution all at once, you will not know what improved the result. Jaga agar eksperimen pertama tetap tenang dan dapat diulang.
Nilailah Hasil sebagai Sebuah Halaman, Bukan sebagai Hal Baru
When processing finishes, open the creation at a useful size. The first emotional test is simple: does this still feel like the person or place you care about? Kemudian beralih dari memori ke kerajinan. Look for clear contours, open areas, readable facial features, and enough simplification to make coloring pleasant.
The printed Craters page keeps the face, hat, shirt lettering, sleeves, and lanyard while removing the lava field. That choice makes the person the entire activity. A different project might keep more scenery, but here the simplified background is what turns the photograph into a comfortable coloring sheet.
Hasil yang layak dipertahankan harus lolos dari pemeriksaan ini
- Wajah atau objek yang penting dapat dikenali.
- Key contours are dark enough and not broken into noise.
- There are useful open shapes for the intended tools.
- Large black areas do not swallow places you wanted to color.
- Small details still make sense at actual print size.
Ketahui Apa yang Harus Diubah Saat Hasil Pertama Meleset
Not every photograph becomes a strong page, and generating the same weak idea repeatedly is rarely the answer. Diagnosis masalahnya terlebih dahulu. Most disappointing results come from the source, the desired detail level, or a mismatch between the style and the intended colorist.
| Masalah | Langkah selanjutnya yang lebih baik |
|---|---|
| Wajah kabur atau terdistorsi | Use a sharper photo where the face is larger and better lit. |
| Latar belakang menjadi kebisingan yang gatal | Try a closer composition or a source with stronger subject separation. |
| Terlalu banyak area hitam pekat | Choose a brighter source with visible shadow detail. |
| Halaman terasa terlalu kosong | Try a source with one or two meaningful supporting elements. |
| Terlihat bagus di layar tetapi lemah dalam cetakan | Use a print-ready resolution when offered and proof at full page size. |
Keep the original nearby, but do not demand a photocopy
The generated drawing should preserve the memory’s identity and mood. It does not need to reproduce every seam, stone, shadow, or strand of hair to be successful.
Open the Creation in Library and Download the Keeper
Style Lab keeps the source and result together while the batch runs. When it completes, use View Creations or open Library to inspect the finished output. Signed-in users can keep the result organized in a collection and reuse it later in Creative Canvas or another Style Lab transformation.
Download the version you actually reviewed—not an old preview or the source upload. Give it a useful filename such as craters-coloring-page-final so it remains obvious after it reaches a Downloads folder or print shop.
Print a Proof Before Reaching for the Art Supplies
Cetak satu halaman terlebih dahulu. Use portrait orientation and make sure the entire drawing remains inside the printer’s safe area. If the application offers “Actual size” and the page dimensions already match your paper, start there; use “Fit to printable area” only when the printer would otherwise clip an edge.
For crayons or colored pencils, ordinary bright-white copy paper is inexpensive and easy to replace. Markers need heavier, uncoated paper and a blank sheet underneath. Light watercolor needs paper designed to tolerate moisture; kertas kantor biasa akan cepat melengkung.
Cocokkan kertas dengan alatnya
- Krayon: kertas fotokopi atau gambar
- Pensil warna: kertas gambar halus
- Spidol: kertas lebih tebal, dicetak satu sisi
- Cat ringan: kertas berkemampuan cat air
Tes thumbnail menangkap cetakan berlumpur
Tempatkan buktinya di atas meja dan mundur. Jika wajah, garis luar utama, atau objek fokus menghilang pada jarak tersebut, halaman tersebut mungkin berisi terlalu banyak detail yang lemah atau kontras garis yang tidak cukup.
Warnai Kenangan, Bukan Hanya Fotonya
Foto asli dapat memandu warna topi, kemeja, kulit, dan lanyard, tetapi ini bukan buku peraturan. Simpan warna-warna yang sudah dikenal sebagai kenang-kenangan, ciptakan palet yang benar-benar baru, atau biarkan anak memutuskan bahwa topi itu milik pelangi. Halaman yang dihasilkan telah menafsirkan foto tersebut; pewarna mendapatkan interpretasi akhir.
Dengan pensil warna, mulailah dengan ringan dan buat lapisan. Simpan bayangan paling gelap dan garis tepi terkuat hingga keputusan warna yang lebih besar terasa seimbang. Meninggalkan sedikit kertas putih di mata dan highlight paling terang akan membuat wajah tetap hidup.
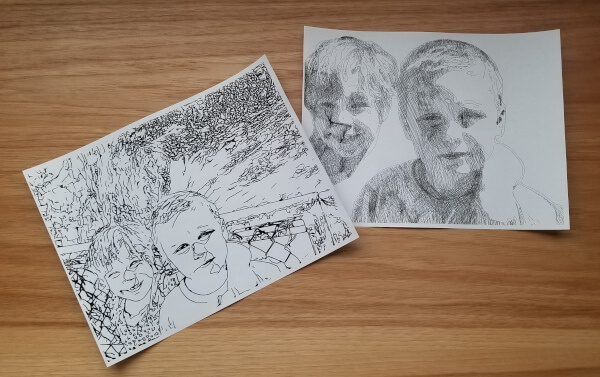
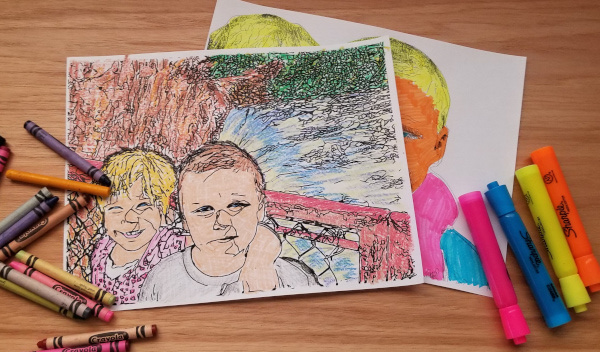
Tidak ada satu pun tingkat detail yang benar. Halaman pemandangan menjadi proyek pewarnaan yang lebih panjang dan padat; potret yang disederhanakan mengundang bentuk penanda yang luas. Pilih pengalaman yang Anda inginkan sebelum memilih sumbernya.
Pilih satu foto yang layak untuk dijadikan waktu menghabiskan waktu
Mulailah dengan subjek yang jelas dan alasan pembuatan halaman tersebut. Hasil pertama terbaik bukan sekadar AI yang mengesankan—ini adalah gambar yang benar-benar ingin diwarnai oleh seseorang.
Lab Gaya Terbuka