How to Create a Coloring Sheet From a Photo
Follow one real photograph from a family trip through FotoMedley’s current Style Lab workflow, learn how to judge the line art, print it cleanly, and turn it into something personal with color.
The photograph we are transforming
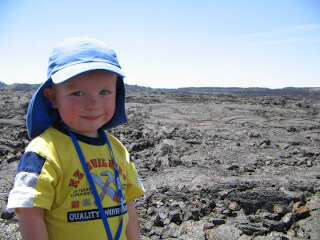
A windy day at Craters of the Moon
This family snapshot has a wonderful subject: a child looking directly toward the camera, a hat with a distinctive silhouette, bright clothing, and a small smile. It also has a potential problem—the lava field behind him is packed with irregular texture.
That tension makes it a useful tutorial. We want the person to remain recognizable without forcing the colorist to fill thousands of tiny rock shapes. The goal is not a literal edge map. It is a page that remembers the photograph and is still enjoyable to color.
- Keep
- Face, hat, shirt, sleeves, and lanyard
- Simplify
- The highly textured lava landscape
- Portrait letter or A4 page
- Finish
- Colored pencils with a light hand
Read the Photograph Like a Coloring-Page Artist
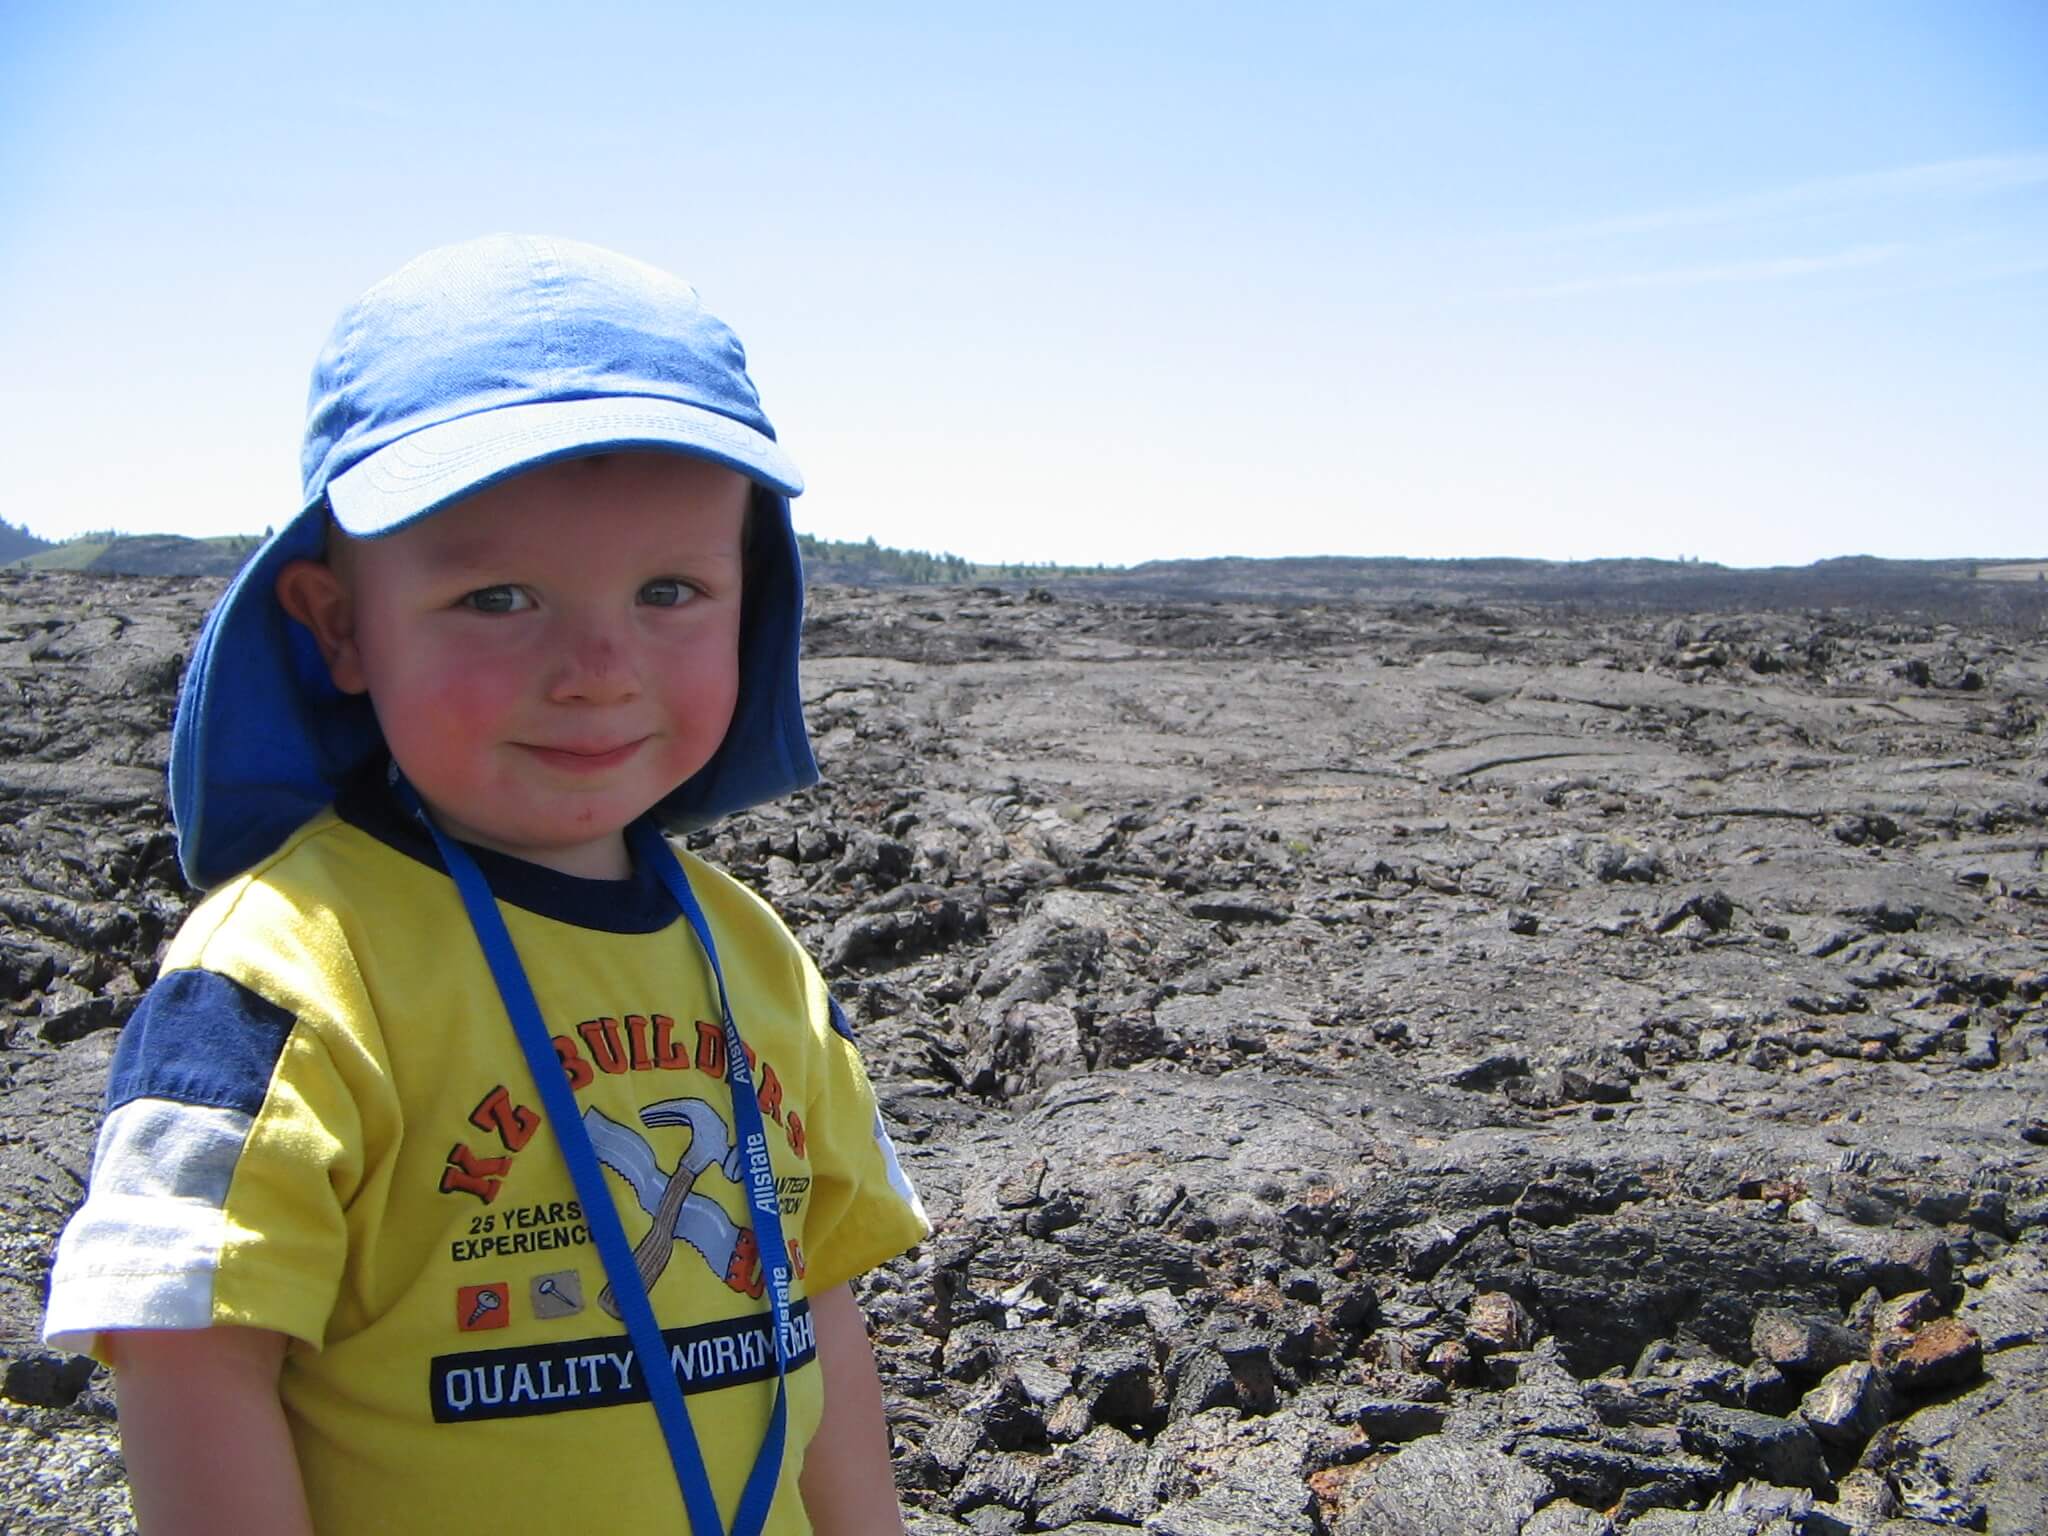
Before uploading, squint at the photo or view it as a small thumbnail. What do you recognize first? Those are the features the finished page must protect. In our example, the hat, eyes, smile, shirt shape, and lanyard carry most of the identity.
Now notice the areas that could become tedious line noise. The black lava is interesting in the photograph but not essential to recognizing the child. A good generated page may simplify it dramatically or focus on the subject. That is not a failure; it is an editorial decision.
The five-second source test
- Can you identify the main subject immediately?
- Are the eyes, mouth, paws, wheels, or other defining details visible?
- Is the subject large enough to survive simplification?
- Are the darkest shadows hiding important features?
- Would you actually enjoy coloring the background?
Choose for the intended colorist
A detailed garden may be perfect for an adult with fine pencils and miserable for a five-year-old with crayons. “Good photo” and “good coloring page for this person” are different questions.
Upload One Strong Candidate in Style Lab
Open Style Lab and begin on Inputs. If you are signed in, choose or create a collection for the project—something specific such as “Craters Coloring Page.” Add the photograph, wait while FotoMedley verifies and analyzes it, then select the image card when it becomes available.
Start with one image. A single-source test makes it easy to learn what the style does, compare alternate results, and understand the credit cost before building a larger batch. Guests can already use the simpler one-image flow; signed-in accounts gain Collections and an easier path to reusing the finished creation.
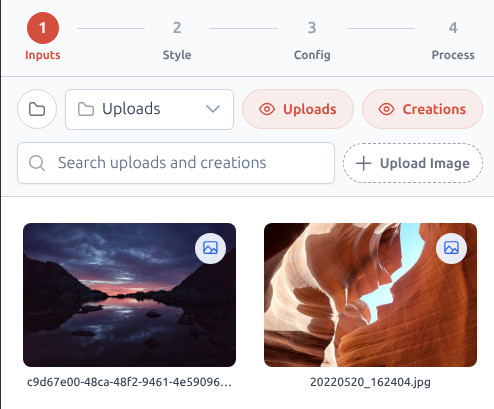
Ways to add the photograph
Drag and drop
Choose from the device
Paste from the clipboard
Reuse an existing upload
Choose Coloring Page and Make a Deliberate First Run
On Style, search for “Coloring Page” and select the main Coloring Page style. It is the best baseline when the goal is broad, printable line art. Related styles can be interesting later, but changing the visual language before you understand the baseline makes comparison harder.
Some styles go directly to Process; others show Config controls. If page-processing layout is available, Auto is a sensible first choice. If resolution choices are available, use a print-appropriate option for the version you intend to keep. The Process screen is the final checkpoint for the source, style, configuration, and total credits.
Classic Coloring BookInputs
Select the photograph
Style
Choose Coloring Page
Config
Review layout and resolution
Process
Check cost and generate
Change one variable at a time
If you compare a new crop, a different style, another layout, and another resolution all at once, you will not know what improved the result. Keep the first experiment calm and repeatable.
Judge the Result as a Page, Not as a Novelty
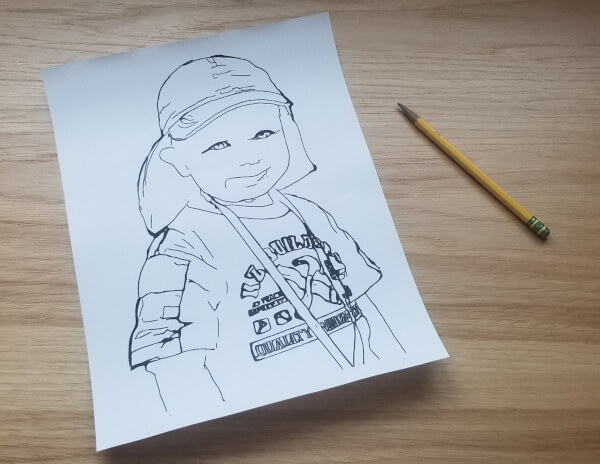
When processing finishes, open the creation at a useful size. The first emotional test is simple: does this still feel like the person or place you care about? Then switch from memory to craft. Look for clear contours, open areas, readable facial features, and enough simplification to make coloring pleasant.
The printed Craters page keeps the face, hat, shirt lettering, sleeves, and lanyard while removing the lava field. That choice makes the person the entire activity. A different project might keep more scenery, but here the simplified background is what turns the photograph into a comfortable coloring sheet.
A result worth keeping should pass these checks
- The important face or object is recognizable.
- Key contours are dark enough and not broken into noise.
- There are useful open shapes for the intended tools.
- Large black areas do not swallow places you wanted to color.
- Small details still make sense at actual print size.
Know What to Change When the First Result Misses
Not every photograph becomes a strong page, and generating the same weak idea repeatedly is rarely the answer. Diagnose the problem first. Most disappointing results come from the source, the desired detail level, or a mismatch between the style and the intended colorist.
| Problem | Better next move |
|---|---|
| Face is vague or distorted | Use a sharper photo where the face is larger and better lit. |
| Background becomes scratchy noise | Try a closer composition or a source with stronger subject separation. |
| Too many heavy black areas | Choose a brighter source with visible shadow detail. |
| Page feels too empty | Try a source with one or two meaningful supporting elements. |
| Looks good on screen but weak in print | Use a print-ready resolution when offered and proof at full page size. |
Keep the original nearby, but do not demand a photocopy
The generated drawing should preserve the memory’s identity and mood. It does not need to reproduce every seam, stone, shadow, or strand of hair to be successful.
Open the Creation in Library and Download the Keeper
Style Lab keeps the source and result together while the batch runs. When it completes, use View Creations or open Library to inspect the finished output. Signed-in users can keep the result organized in a collection and reuse it later in Creative Canvas or another Style Lab transformation.
Download the version you actually reviewed—not an old preview or the source upload. Give it a useful filename such as craters-coloring-page-final so it remains obvious after it reaches a Downloads folder or print shop.
Print a Proof Before Reaching for the Art Supplies
Print one page first. Use portrait orientation and make sure the entire drawing remains inside the printer’s safe area. If the application offers “Actual size” and the page dimensions already match your paper, start there; use “Fit to printable area” only when the printer would otherwise clip an edge.
For crayons or colored pencils, ordinary bright-white copy paper is inexpensive and easy to replace. Markers need heavier, uncoated paper and a blank sheet underneath. Light watercolor needs paper designed to tolerate moisture; regular office paper will buckle quickly.
Match paper to the tool
- Crayons: copy or drawing paper
- Colored pencils: smooth drawing paper
- Markers: heavier paper, printed single-sided
- Light paint: watercolor-capable paper
The thumbnail test catches muddy prints
Place the proof on a table and step back. If the face, main outline, or focal object disappears at that distance, the page probably contains too much weak detail or not enough line contrast.
Color the Memory, Not Merely the Photograph
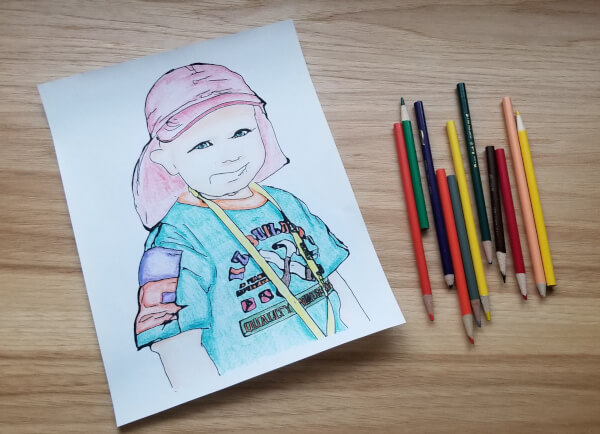
The original photograph can guide the hat, shirt, skin, and lanyard colors, but it is not a rulebook. Keep the familiar colors for a keepsake, invent a completely new palette, or let a child decide that the hat belongs in a rainbow. The generated page has already interpreted the photo; the colorist gets the final interpretation.
With colored pencils, begin lightly and build layers. Save the darkest shadows and strongest outlines until the larger color decisions feel balanced. Leaving a little white paper in the eyes and brightest highlights will keep the face lively.
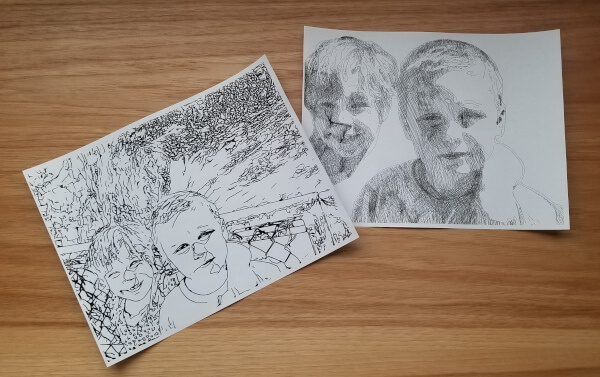
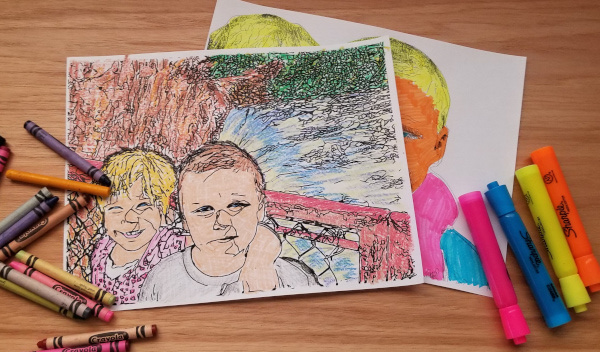
There is no single correct detail level. The scenic page becomes a longer, denser coloring project; the simplified portrait invites broad marker shapes. Choose the experience you want before choosing the source.
Choose one photograph worth spending time with
Start with a clear subject and a reason for making the page. The best first result is not merely impressive AI—it is a drawing someone genuinely wants to color.
Open Style Lab