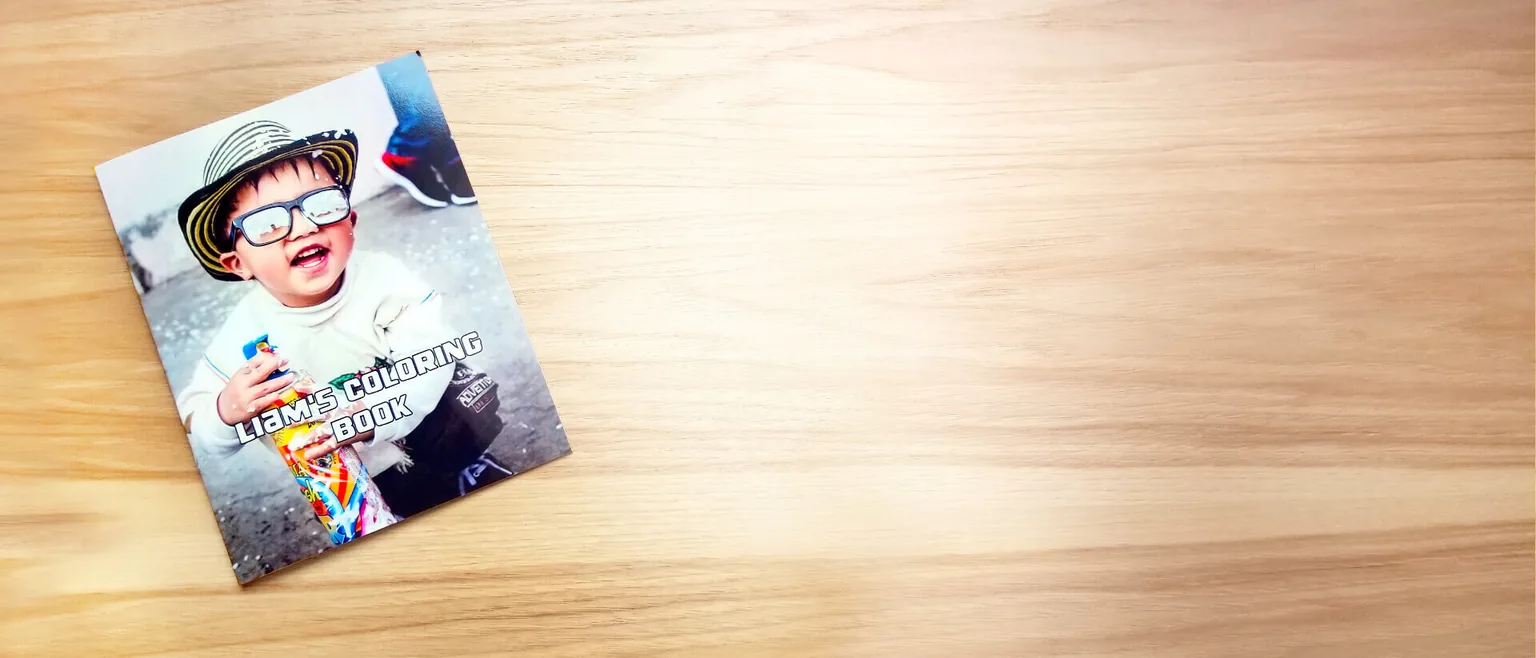
The project we are making
Liam’s Animal Adventure
Liam is a young animal lover—the kind of child who can happily name every creature on a page and still ask where the dinosaurs are. That gives us more than a theme. It gives us a point of view for every choice in the book.
Our goal is a small gift book that feels intentional: a cheerful cover, a short dedication, a sequence that travels from familiar animals to wilder ones, a surprise dinosaur near the end, and a back cover. The pages should look related without feeling mechanically identical.
For
Liam, an animal-obsessed young colorist
Format
8.5 × 11 in, portrait, single-sided
Page plan
Cover + dedication + 9 coloring pages + back cover
Visual rule
One primary Coloring Page style, generous white space, repeatable captions
Output
Numbered page files for home or local printing
What is live today—and what is not
FotoMedley does not currently have a live multi-page coloring-book builder or integrated printed-book checkout. Style Lab can create the line art, Collections can keep the project organized, Creative Canvas can design and render each page, and Library can provide the completed files. The integrated printed coloring-book option is coming soon.
Give the Book a Story Before You Choose Photos
A folder of twelve unrelated pictures feels like twelve worksheets. A book needs a reason for one page to follow another. Start with the person receiving it: what do they recognize, laugh at, remember, or want to learn?
For Liam, we will begin with friendly animals, pair related pages such as horse and zebra, move toward bigger and “scarier” animals, and save the dinosaur for a surprise ending. That tiny bit of pacing makes the coloring experience feel like an adventure.
Themes that naturally become books
Liam’s page map
Cover
Dedication
Friendly animals
Horse + zebra
Wild animals
Dinosaur surprise
Back cover
Story-editing tip
Put one of your strongest pages near the beginning and another near the end. Group related pages, vary busy and simple compositions, and give the final interior page a little payoff.
Create One Collection and Over-Cast the Book
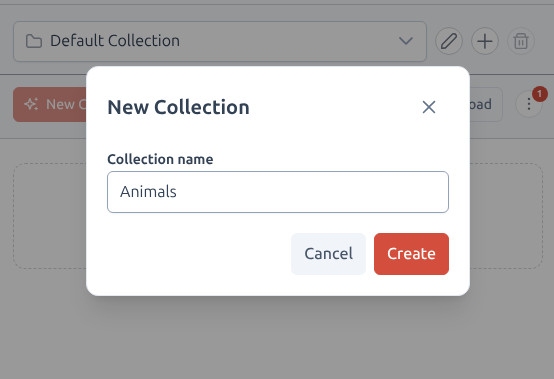
In Style Lab, create a collection named “Liam’s Animal Adventure.” Use it for both candidate uploads and generated creations. Creative Canvas can later filter its image library by collection and switch between Uploads and Creations, so this small organizational choice saves a surprising amount of hunting.
Do not choose exactly nine photos for nine pages. Upload fourteen or fifteen candidates. AI output varies by source, and having alternates lets you replace a muddy lion or over-detailed bird without weakening the page plan.
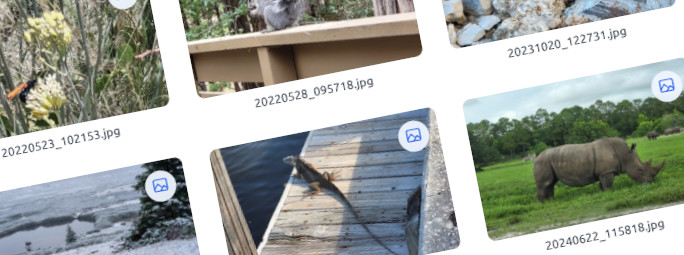
A promising coloring-page photo usually has…
- one main subject you can recognize at thumbnail size
- visible eyes, face, paws, wheels, or other defining features
- useful separation between the subject and background
Be cautious with…
- tiny faces, motion blur, or very dark shadows
- dense grass, leaves, crowds, and repeating textures
- important details cropped against the edge of the photo
Process a Three-Image Test Before the Full Batch
Choose three sources that represent the range of the book: one easy close-up, one full-body subject, and one scene with more background detail. On the Style step, search for Coloring Page. Keep the same style and configuration for this test so you are evaluating the photos—not changing several variables at once.
When page-layout controls are available, Auto is a sensible first pass. Choose a resolution appropriate for printing, check the credit total on the Process step, and generate only the test trio. Open the results at a realistic page size rather than judging from small thumbnails.
Classic Coloring Book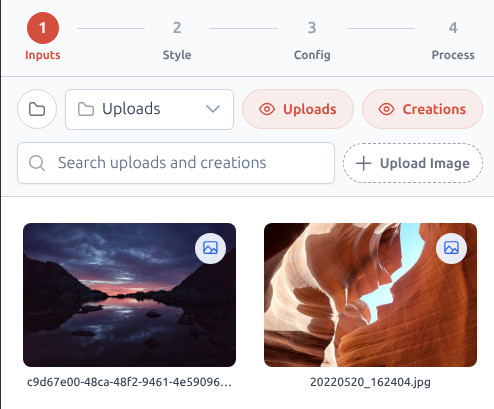
Clear source
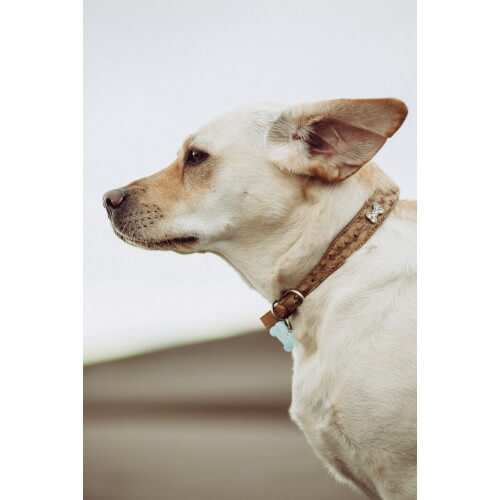
Colorable result
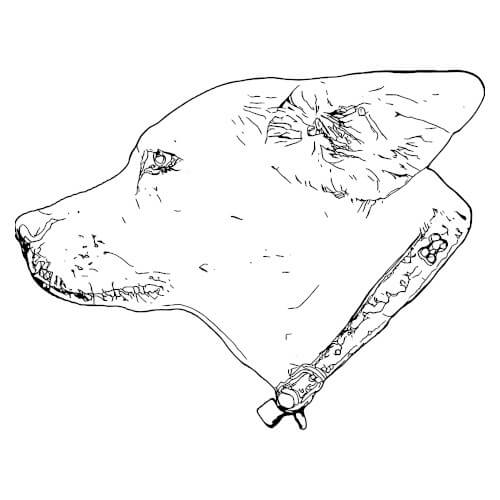
Do not spend the whole budget proving the wrong idea
If the test set is too detailed, too sparse, or visually inconsistent, change the source selection or style now. Three imperfect experiments are useful; fifteen matching disappointments are expensive.
Curate the Results Like an Editor, Not an Archivist
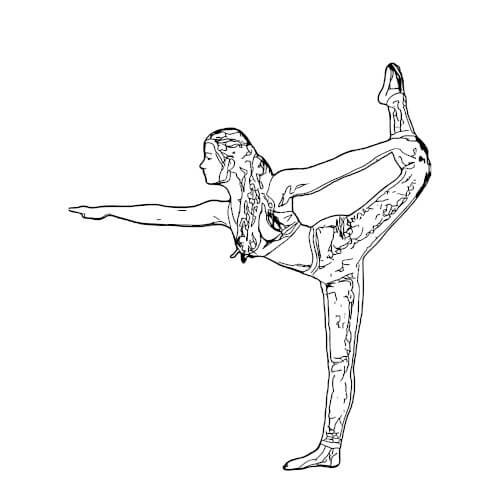
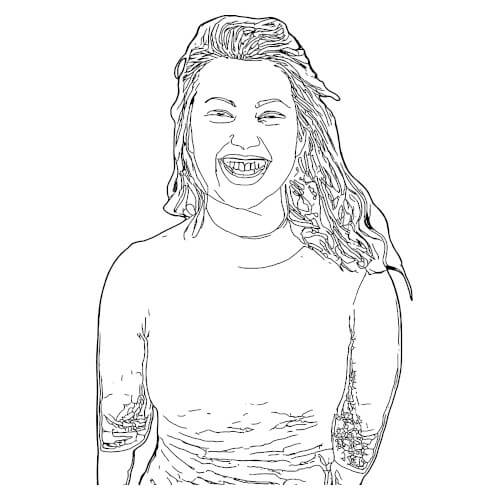
A generated result does not earn a place merely because it finished processing. Compare the pages as a set. A line drawing can be technically impressive and still be unpleasant to color. Dense texture may suit an adult book, while Liam’s book needs larger shapes and cleaner visual decisions.
Reject pages with lost faces, confusing extra limbs, large black areas, or detail that turns to gray fuzz when printed. Try a clearer alternate photo first. If one page genuinely benefits from a related style, use that variation deliberately—perhaps for the dinosaur finale—not randomly throughout the book.
The four-question page test
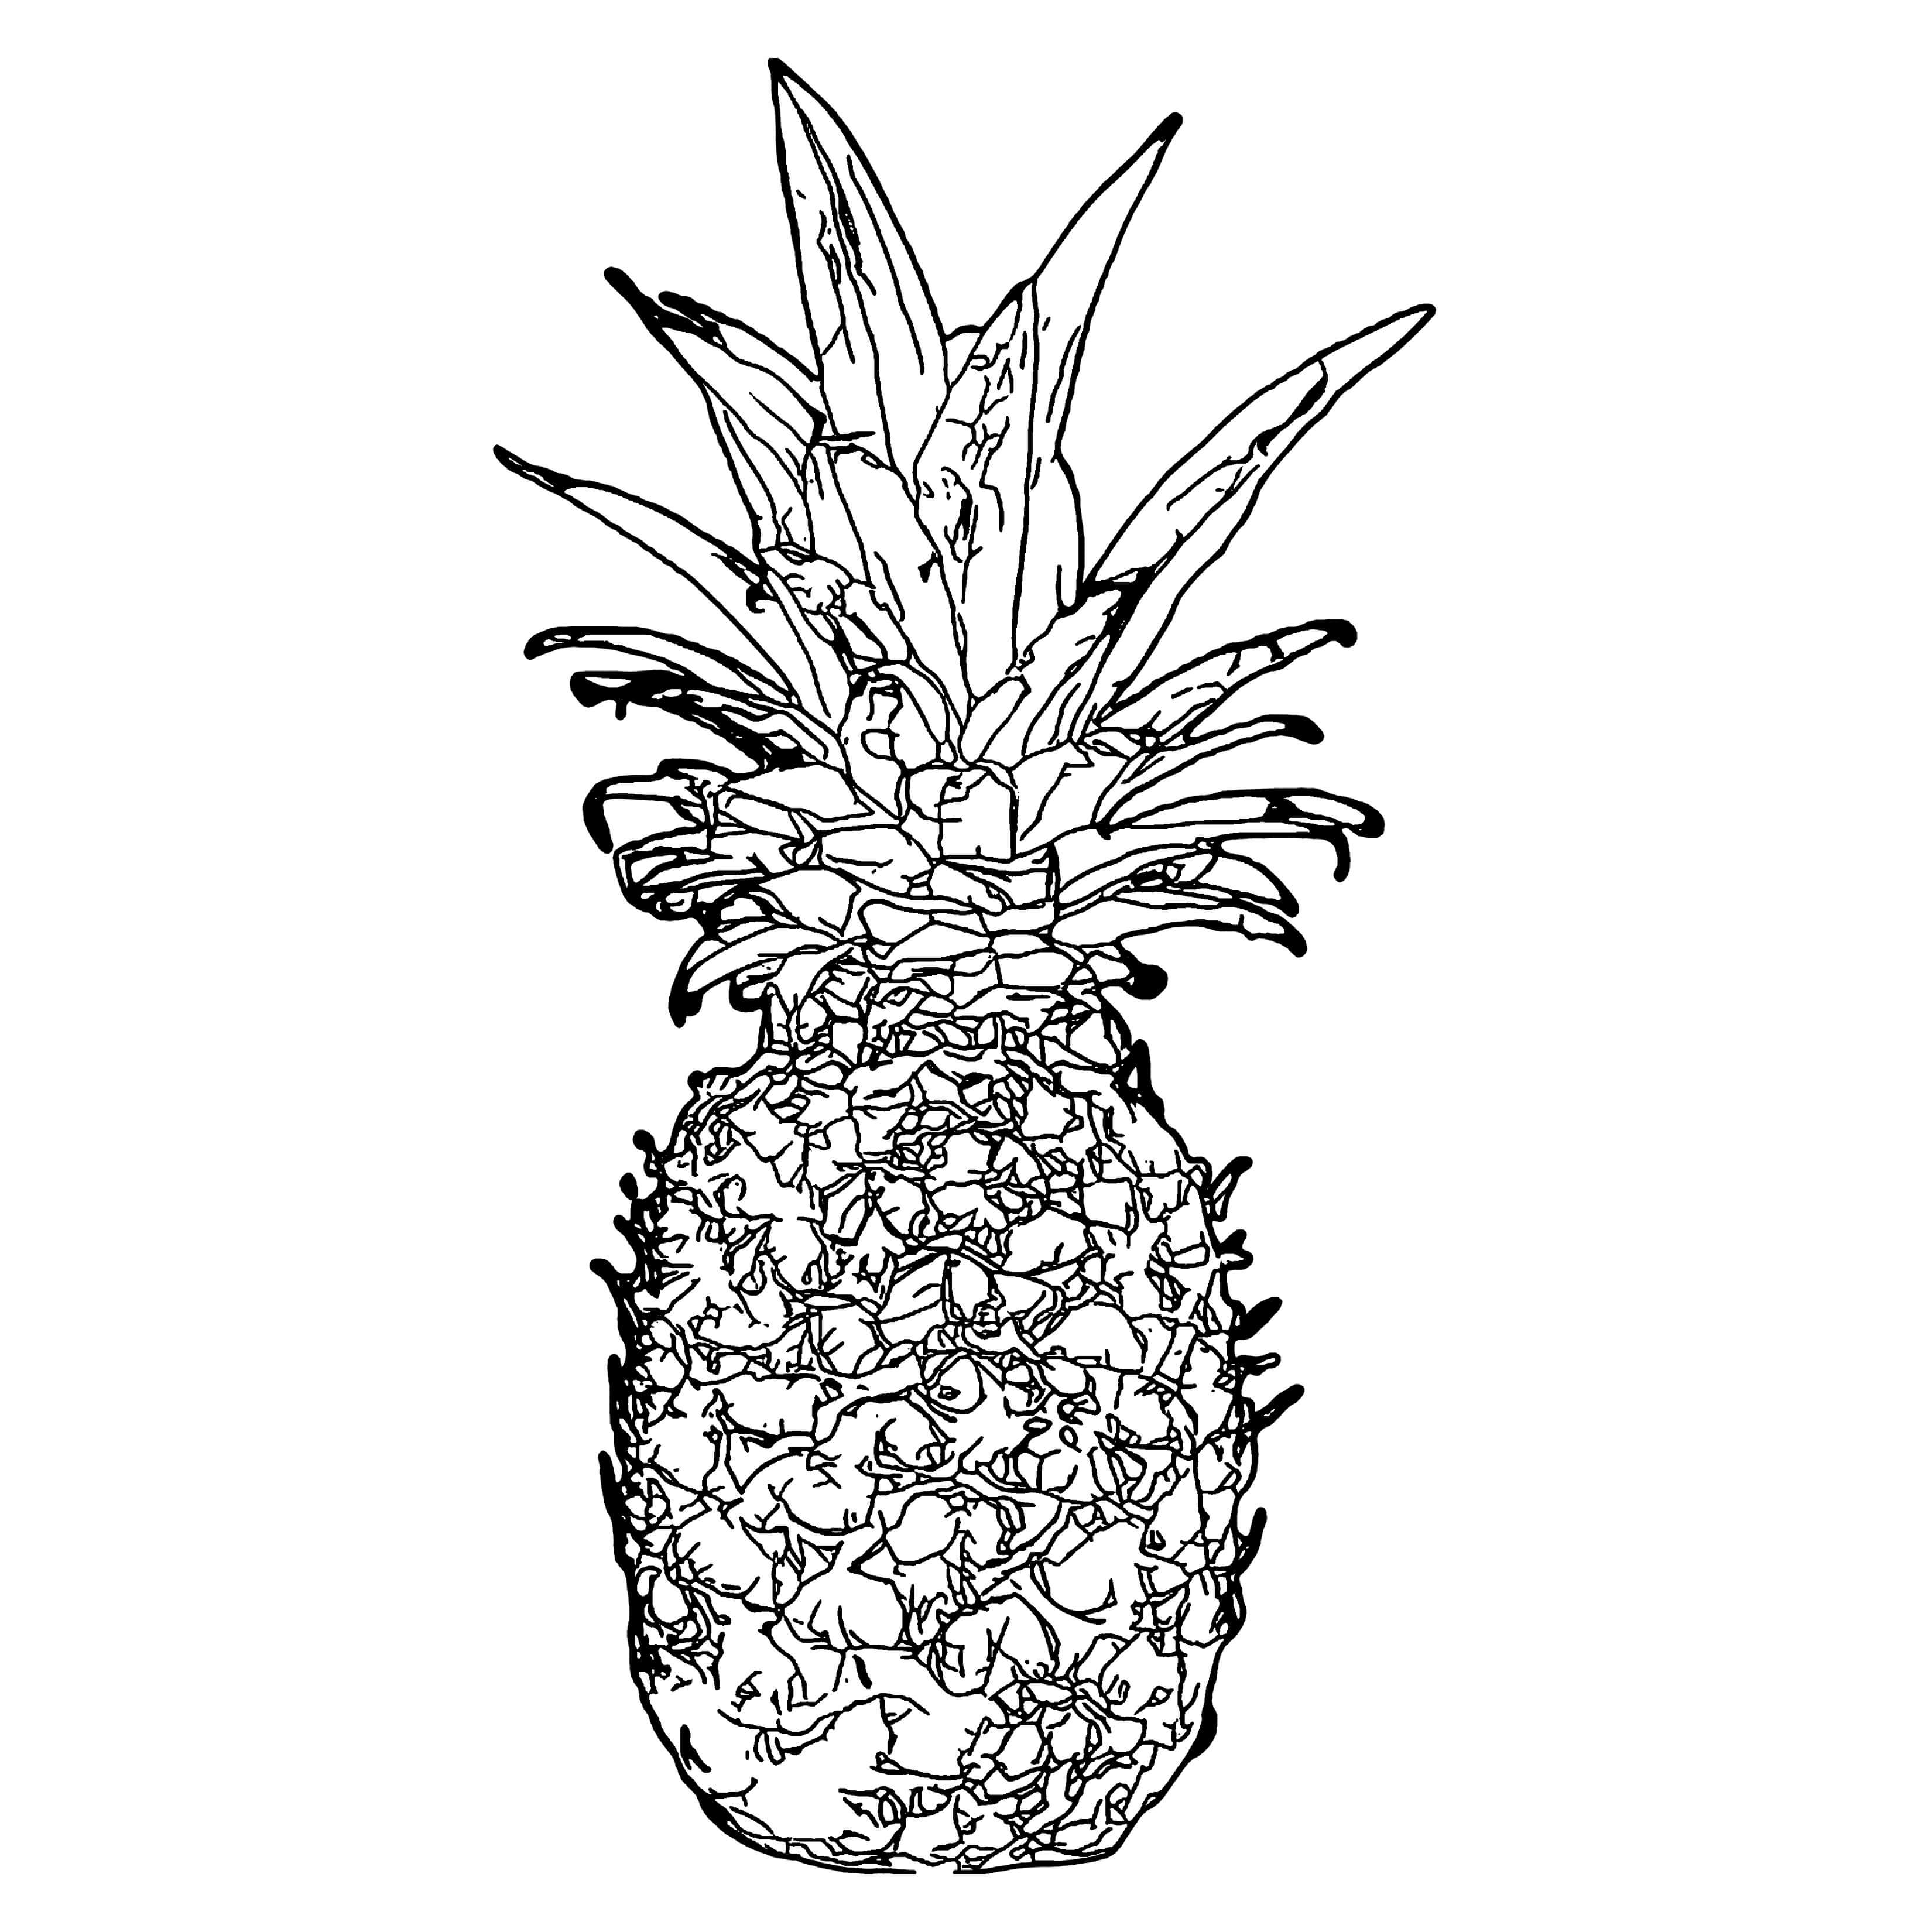
Build a Repeatable Page Recipe in Creative Canvas
Sign in and open Creative Canvas. Set the page to portrait letter size—8.5 × 11 inches—for this project. Open Images, filter to Liam’s collection, show Creations, and drag one finished coloring page onto the canvas. Resize it while preserving generous white margins.
Add a text layer for a short caption. Creative Canvas supports text size, normal or outlined text, color, horizontal and vertical alignment, plus optional page borders and backgrounds. For a coloring book, a white background and restrained border usually leave the artwork more inviting.
There is no multi-page duplication workflow yet, so treat the first page as a recipe: write down the dimensions, margin feel, title position, text treatment, border, and background. Repeat those decisions on each canvas. Consistency comes from the recipe, not from making every image the same size.
Our interior-page recipe
- 8.5 × 11 in portrait
- One creation with comfortable white space
- Short centered outline caption
- White background; one subtle border or none
- Render into “Liam – Final Pages”
Liam’s Animal Adventure
D is for Dog
Use Captions, a Dedication, and Page Order to Add Personality
Because Liam is learning letters and words, animal names can do more than label the pictures. “D is for Dog,” “Can you spot the zebra’s stripes?” or “The dinosaur surprise!” gives each page a small voice without crowding the artwork.
Make the dedication its own mostly empty canvas. A few warm lines will feel more special than squeezing them onto the cover: “For Liam—may your adventures always be wild, colorful, and full of dinosaurs. Love, Aunt Maya.”
For Liam—may your adventures always be wild, colorful, and full of dinosaurs. Love, Aunt Maya.
Keep text colorable and readable
One short line is usually enough. Outlined text can become part of the coloring activity, but test small letters on paper; thin counters and decorative fonts can close up when printed.
Design a Cover That Feels Like a Gift
The cover is allowed to break the interior rules. Use a favorite full-color upload or a colorful creation, a large title, and more personality. In Creative Canvas you can combine the image with text, a background, and a border. Keep the recipient’s name readable even when the cover is seen as a small thumbnail.
The back cover can be calm: a second photo, a tiny collage, the creation date, or one closing sentence. Do not repeat every interior page in miniature unless the thumbnails remain legible. A little empty space makes the whole object feel more finished.
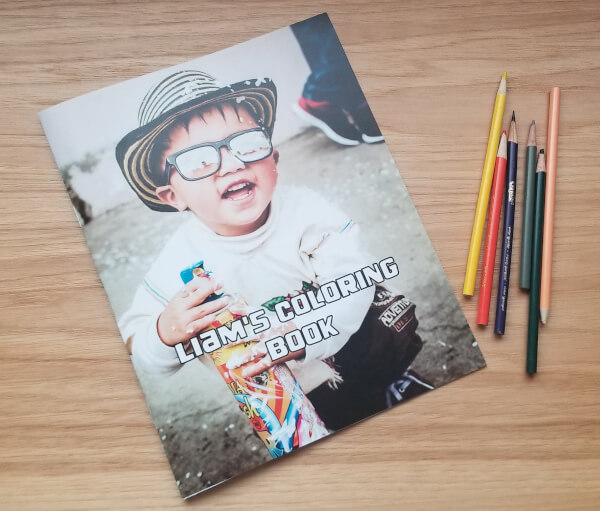
Render, Name, Proof, Print, and Bind
When a canvas is ready, choose Render, select an output collection such as “Liam – Final Pages,” review the credit cost, and confirm. FotoMedley saves the rendered page as a creation. Open it in Library to view or download it, then move to the next canvas.
Download files with sortable names: 01-cover, 02-dedication, 03-dog, 04-horse, and so on. Before printing the complete set, proof the cover, one simple interior page, and the densest page. Those three sheets reveal most problems with margins, line weight, scaling, and paper.
A print-shop checklist worth carrying with you
- Print interiors single-sided so markers cannot ruin the next drawing.
- Use ordinary paper for crayons and pencils; test heavier uncoated stock for markers.
- Ask for black-and-white interiors unless a page intentionally uses color.
- Confirm portrait orientation, page order, blank backs, and no unexpected “fit” cropping.
- Choose coil or comb binding if you want the book to lie flatter while coloring.
FotoMedley printed coloring books: coming soon
The planned printed-book option will bring page selection, sequencing, cover design, ordering, and professional printing into one guided FotoMedley experience. Until then, this Style Lab + Collections + Creative Canvas workflow gives you control over every page—and a book you can already make, print, and give.
Start Liam’s first page—or invent your own story
Create a named collection, choose three representative photos, and test the Coloring Page style before you plan the entire batch.