Organize Your FotoMedley Work With Image Collections
Collections keep uploads and generated creations from turning into one long pile. Use them to separate source albums, output styles, gift projects, and the second-pass experiments you want to revisit.
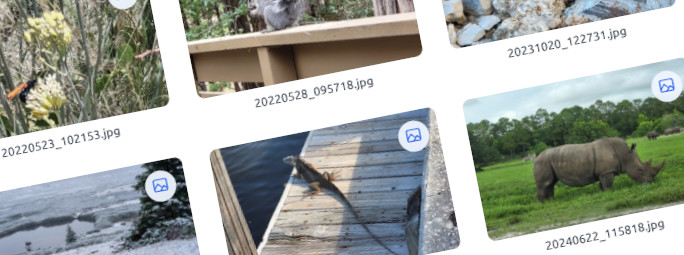
A little organization before processing makes finished creations much easier to reuse.
The simplest system is to keep source photos in project collections, then move finished creations into collections named for their output style or final use. You do not need a complicated library strategy; you need names that match how you actually work.
Create the Collection Before You Upload
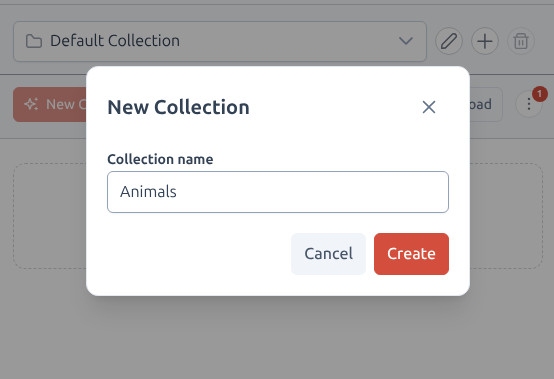
Signed-in users can create named collections from the Style Lab collection selector. Click the add action, enter a name such as “Winter Trip,” “Pet Portraits,” “Watercolor Gifts,” or “Comic Characters,” then create it before adding the next set of files.
The new collection becomes active right away, so uploads you add next land in that workspace. Default Collection remains useful as an inbox for unsorted images, but named collections are better once a project has a purpose or a deadline.
Name Collections by the Job They Do
A good collection name tells you what belongs there without opening every thumbnail. Source collections hold original uploads. Output collections hold finished styles. Experiment collections hold reusable middle steps, like background cutouts or black-and-white bases.
For example, a family reunion project might use “Reunion Uploads” for source photos, “Reunion Watercolors” for gift-ready paintings, and “Reunion Coloring Pages” for printable activity sheets. That separation makes downloading, moving, and reprocessing much less confusing.
- Use source names for uploads: Family Photos, Product Shots, Vacation Uploads.
- Use output names for finished work: Watercolor Gifts, Comic Picks, Coloring Pages.
- Use temporary names for experiments: Background Cutouts, Second Pass, Ready to Print.
Switch Collections While You Work
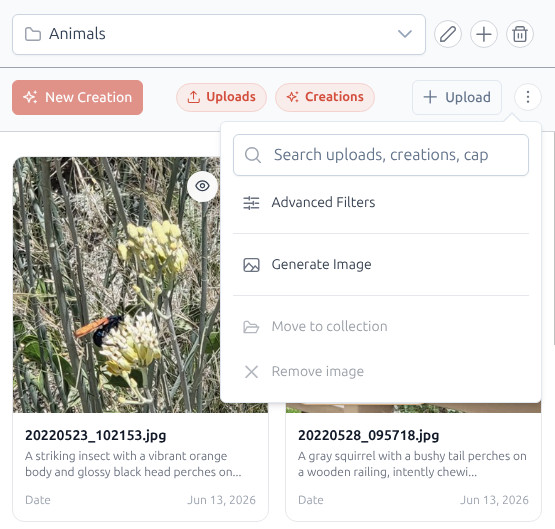
The active collection controls what appears in the Inputs grid. On desktop, use the collection selector line at the top. On small screens, use the folder button to open the collection picker.
Once you switch collections, the search field and Uploads/Creations toggles apply inside that collection. If an image seems to disappear, you are probably looking at another collection or filtering out the source type you need.
Move Images After They Are Processed
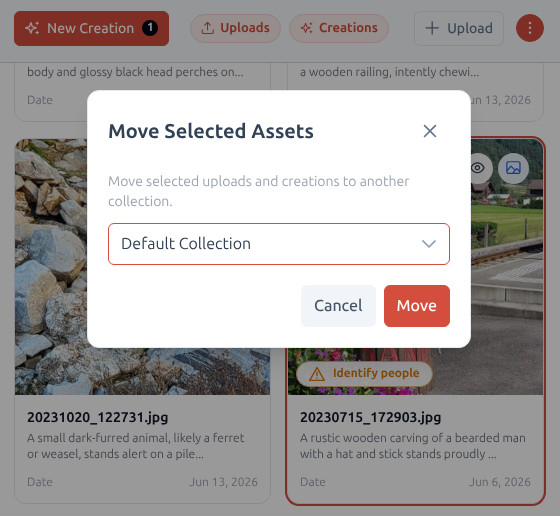
After processing, use the Inputs grid to select the images you want to move. Turn on the Creations filter first if you only want finished outputs. Then open Move Selected, choose a Destination Collection, and confirm.
Moving an image changes where it appears; it does not require uploading or processing the image again. This makes it easy to keep raw source photos in one place and finished results in another.
A clean post-batch habit
After a batch finishes, move winners into a style or purpose collection right away. Leave rejected experiments behind, and keep strong intermediate creations where you can find them for another processing pass.
Know What Happens When You Clean Up
Collections are organization containers, not the creative work itself. If you delete a collection, its images are moved back to Default Collection instead of being deleted with the collection. That makes cleanup less risky, but it also means Default Collection can become crowded if you use deletion as your main sorting method.
When in doubt, move images deliberately instead of deleting collections to sort them. It is the difference between putting files in the right folder and dumping everything back into the inbox.
Ready to clean up your workspace?
Create one project collection and one output collection before your next batch. That is enough structure to make the workflow feel calm.
Open Style Lab